 I was rooting around on Etsy one day when I came across a stash of vintage metal slide mount frames. You know, the kind that were used for slide shows way back when. Which I totally learned about them from watching Mad Men, *not* because I’m old enough to remember. Anyway, I thought they were kind of a cool little thing, and inspiration struck as it occurred to me they would make excellent little picture frames. I snapped up several dozen and set about creating my own mini-magnet photo gallery. This is the easiest DIY project ever, which is the very best kind. Here’s the how-to:
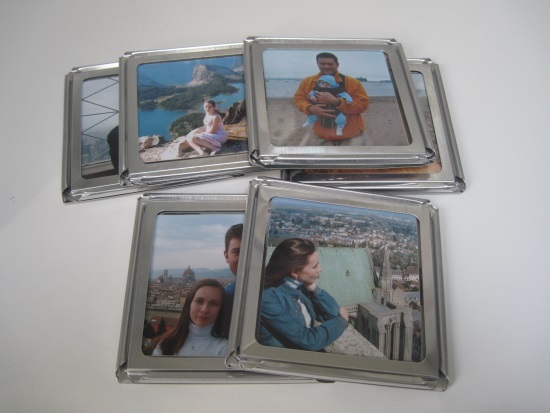
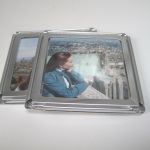
Fun and easy! I used vintage aluminum slide mounts to create these mini-photo frames.
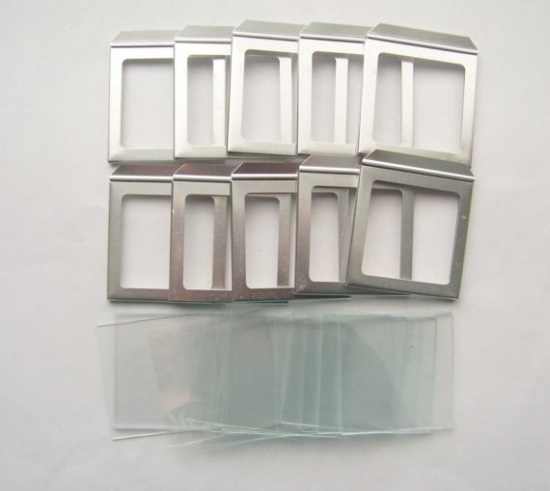
First you’ll need to locate some vintage slide mounts. I like the metal kind best, personally, but they come in plastic and paper versions too. Use the search terms like “vintage, slide, mounts, binders, metal” on Ebay or Etsy – they’re not that expensive or hard to come by.
A similar style of aluminum slide mounts is for sale in this current Etsy.com. Click on image to link to this listing.
Next, gather up some photos you’d like to frame. I used Snapfish to have wallet-size photos printed, which worked out to almost the perfect size for the 2 inch square frames. Alternatively, you could frame scraps of fabric with fun patterns, images from magazines, or small mementos.
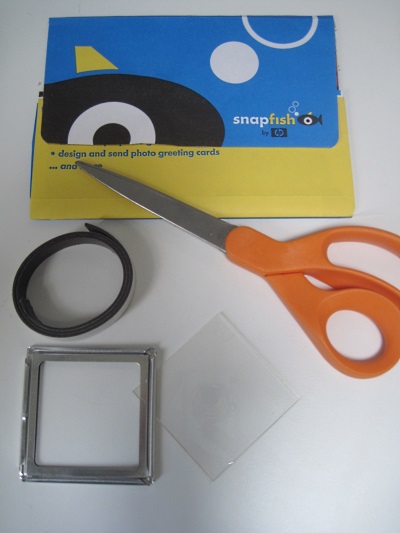
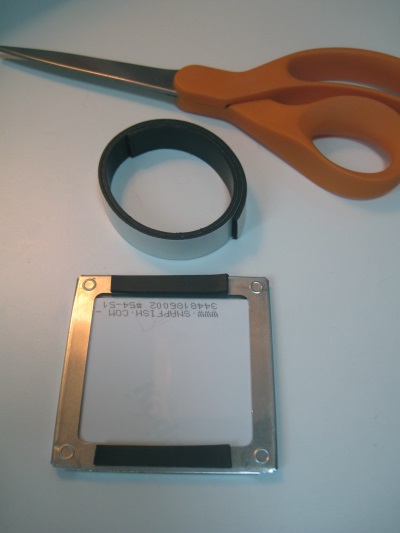
In addition to the photos, you’ll need a good pair of scissors and a roll of adhesive magnet, which is available in your local craft store.
Once your photos are trimmed to size, just insert them into the slide mounts. The ones I bought came with wafer-thin pieces of glass for holding the images in place. Then, cut your magnet strip and press onto the back of the frame. Done!
The magnet strip is easily cut with scissors. I will say it’s not the strongest magnet ever, but it works ok as long as you’re not planning to use the frames *as* magnets themselves. They’ll support their own weight fine, but if you actually wanted to hold other stuff up with them, I’d suggest a stronger magnet.
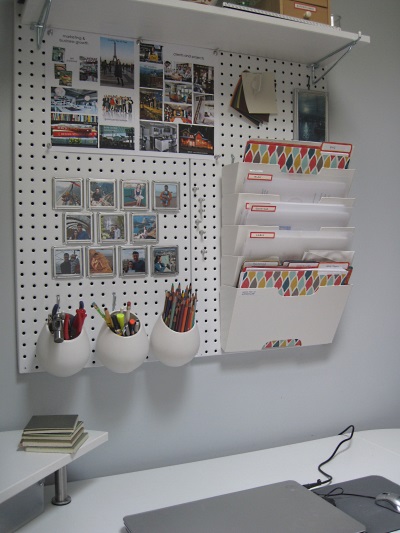
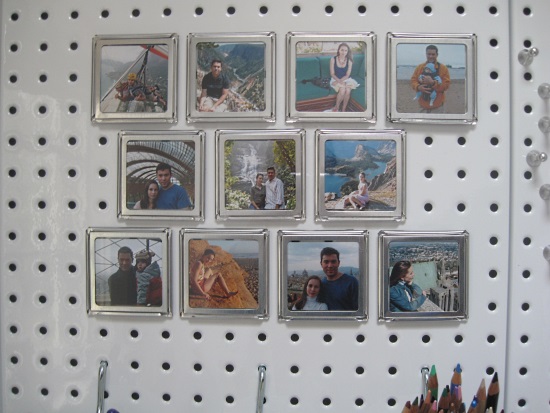
Once you create a bunch of these, you’ll have a miniature “gallery” to display on any metal surface. I put mine up on the metal pegboard I have mounted over my desk, which holds my office supplies. They’d be great on the refrigerator too.
For my slide gallery I chose images from my travels, which inspire me as I’m working.
I’m alway moving them around and creating different configurations. The best part about a magnetized photo gallery: no holes in the wall!
I think you could totally get creative with this idea, as there are so many possibilities for these vintage slide mounts. You could attach pins to the back to make a brooch, or attach a ribbon so they can be hung on the Christmas tree. What ideas do you have? I’d love to hear them!
——–
Tamara Leicester is a licensed interior designer and owner of Tamara Heather Interior Design, LLC. She designs casually elegant interiors with an artistic sensibility, often drawing upon the talent of local artists and craftspeople in her work. Dreaming about updating your space? Learn more at tamaraheatherinteriors.com.