 One day several years ago, not long after the birth of my son, I bought a bare wood footstool thinking it would be nice upholstered. Footstools are just ultra-handy for all sorts of purposes, and especially if you are short like me and your feet dangle from even standard-sized chairs. My ambition exceeded my available time and energy: the footstool languished for many years in a dark corner, unused. That is, until I discovered the perfect fabric at Modern Fabrics and felt newly invigorated to get my upholstery plans back in motion. I will preface this post by saying I am not a seamstress and have NO upholstery experience or, really, know-how. But the stool came out pretty good if I do say so, which just proves that this is an easy project for literally ANYONE. And it only took me 2 hours. Here’s how I did it:
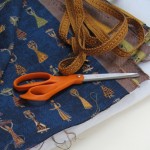
1. First I gathered my materials: 2″ thick foam, fiber batting, just under 1 yard of fabric, and 2 yards of trim. All of this came from the local fabric supply store except the fabric itself which came from Modern Fabrics in Charlotte. I also got out a pair of scissors, a staple gun, and some fabric glue.
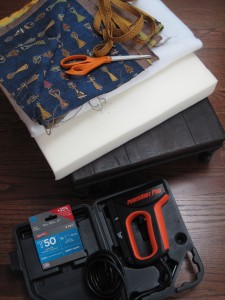
The footstool came from Pottery barn, but I have seen similar styles at flea markets and other chain stores
2. Next, I marked and cut the foam to fit the top of the stool:
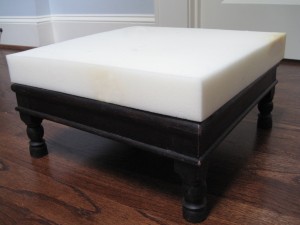
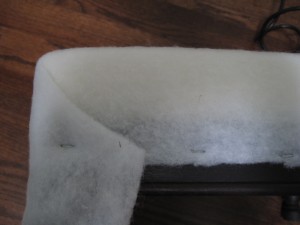
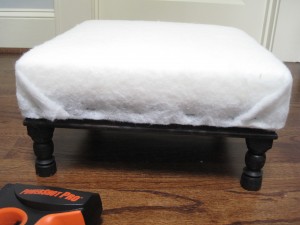
3. Third, I wrapped the batting around the foam, pulling taut (but not too tight) and stapling the sides as I went. When I was done stapling, I trimmed off the excess batting.
 |
 |
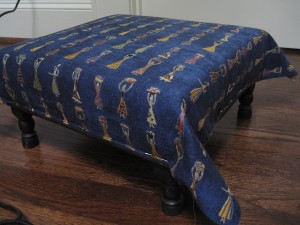
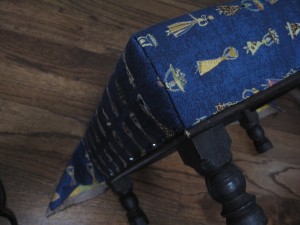
4. Now for the fun part! I wrapped the fabric over the batting, turning the raw edge under and stapling, nice and snug against the wood edge trim you see on the base of the stool. Again, I pulled the fabric fairly taut as I went. The most challenging part was getting the staples to go into the wood – it’s a pretty hard wood, and every other staple would crumble and fall out. Maybe heavier gauge staples would have helped? (These were 1/4″.) I folded the corners in to create a nice neat tuck, kind of like making a bed hospital-style. I also reinforced the corners with a little bit of fabric glue on the underside of the fabric, to ensure they would stay firm and closed.
 |
 |
5. Finally, I added the trim. I used fabric glue to adhere the trim all the way around the base of the stool (covering the staples), then reinforced the last corner with a tiny nail (it’s practically invisible) to ensure it would not come undone. Voila, the finished footstool:
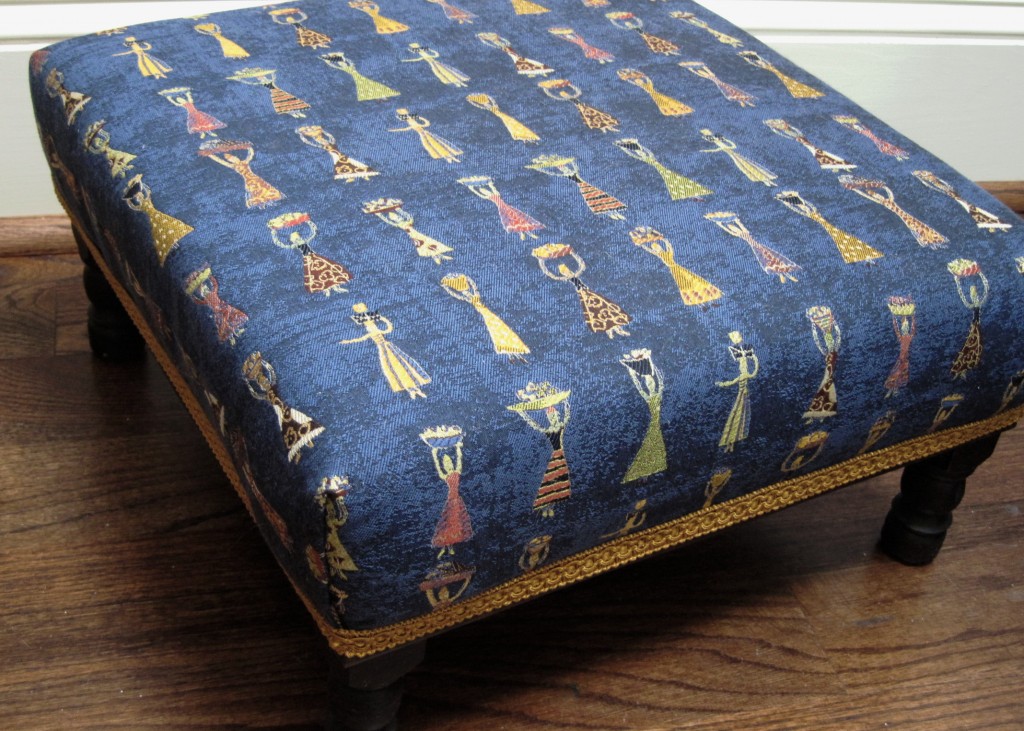
My plan is to keep this in my office, so I’ll have a cozy place to rest my feet while I work. Although currently that plan is being thwarted by one large fluffy cat:

